Powered By Blogger

Sunday, December 25, 2011

The Smookie!

Do you have cookie lovers and smore's lovers under one roof!??!?! If so, This is the treat for you!Again, I stumbled across an interesting creation on Pinterest. I have cookie and smore's lovers at my house, so I thought I'd give it a shot & it was a success, such a hit that we started making these for Christmas Eve to eat while opening gifts and drinking milk at midnight!;)


And so the fun begins, the recipe is below!


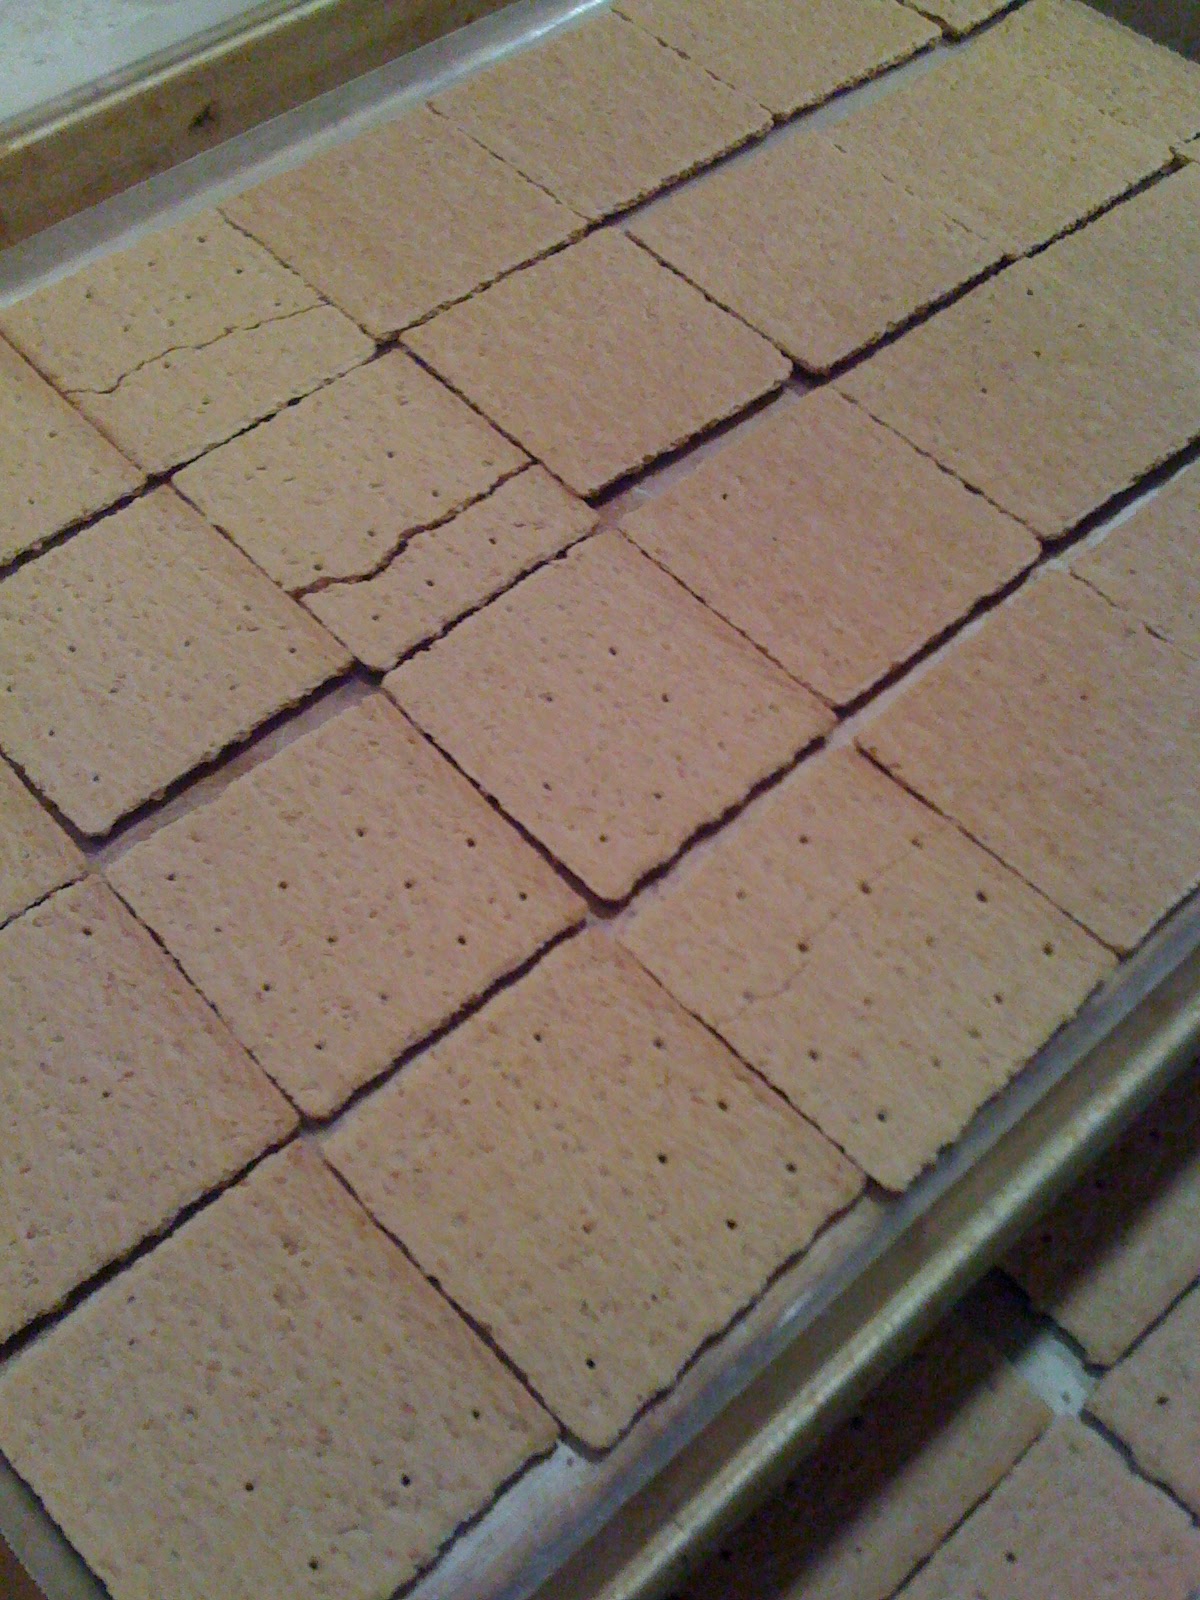
Purchase a box of regular graham crackers. Line them on a cookie sheet, lined with parchment paper, set aside.


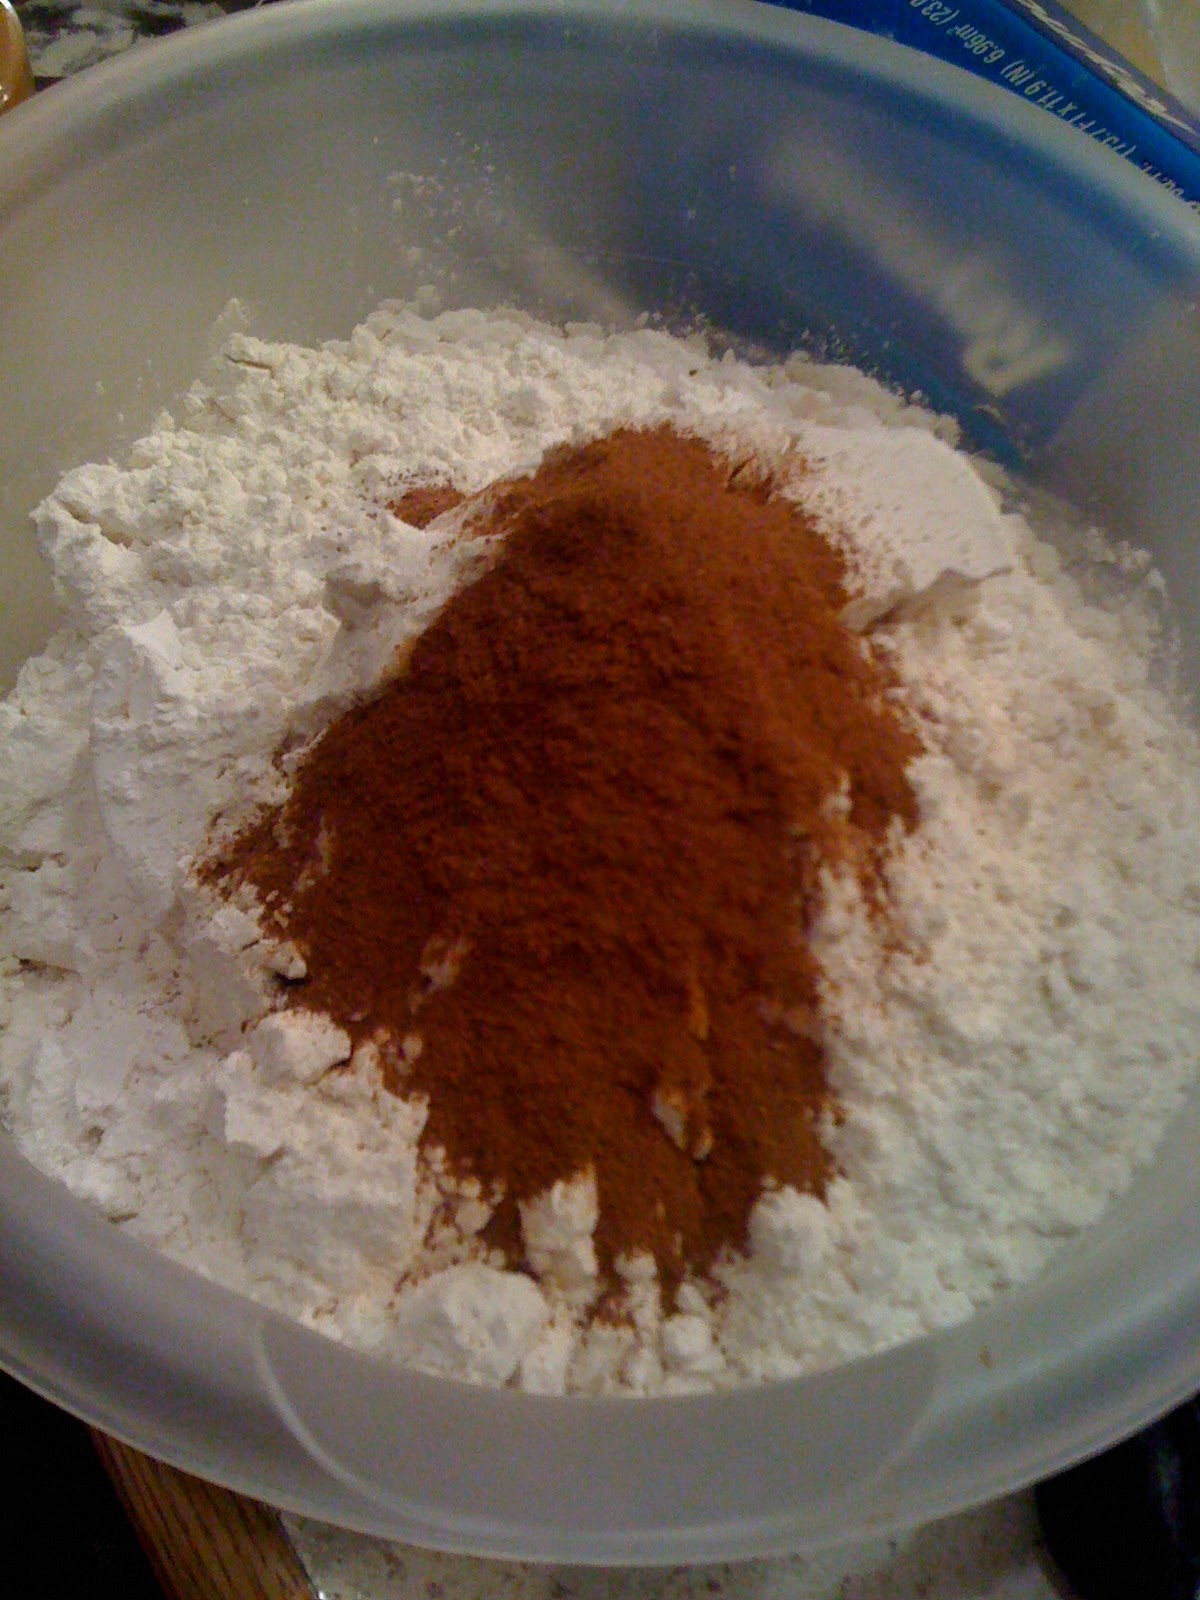
In a bowl gather the dry ingredients below:

-2 tsp baking soda
-1 tsp sea salt
-2 tsp cinnamon
-5 cups all purpose flour

Mix lightly with a spoon and set aside.


In a mixer, cream:

-22 Tbsp Butter, softened
-2 cups brown sugar
-1 cup granulated sugar

Once fluffy, add:
-4 large eggs
-2 tsp vanilla

Your mixture should look like the image above.


Next, mix your dry ingredients with your cream mixture until combined, do not over mix.
Then add:

-2 cups mini marshmellows
-2 cups milk chocolate chips
-1/2 cup white chocolate chips, optional.


Gently fold in the marshmellows, white and chocolate chips until incorporated well.


Go ahead and put a heaping tablespoon of cookie dough on each graham cracker.
Throw in the oven for 5 minutes on 375 degrees.


Take out the cookies and top with pieces of Hershey's chocolate bar, broken into pieces.
You can put one chip on each piece or 2, or 3, or 5:) Whatever tickles your taste buds!
Throw these babies back in the oven for another 8-10 minutes on 375


When complete, your cookies should look like the above, allow the cookies to cool and cut when cooled enough!
I hope you enjoy this campfire favorite, minus the campfire and topped with a twist!

Hot Ham Sammies

One day while roaming in the realm of Pinterest, I stumbled across a yummy looking ham sandwich.Curious as usual, I grabbed my pot and whisk & this is what became of the experiment.


The recipe is broken down below:


In a sauce pan, combine the following ingredients and bring to a boil:

-1 Cup butter
-4 Tbsp brown sugar
-2 Tbsp honey dijon mustard
-2 Tbsp worcestershire sauce
-2 Tbsp dried onions.


Now, you want to start with 12-15 rolls, depending on how many you choose to feed.
Cut each roll in half and assemble them on a pan or cookie sheet lined with wax paper.
Now melt a stick of butter and with a pastry brush, lightly brush each roll with butter.
The rolls can vary upon your taste. I've seen these sammies made with Kings Hawaiian rolls,
ranch rolls, potato rolls, etc. In this case, I used the wonderful soft rolls from Kneaders Bakery!
(Notice the 2 darker rolls on the end, those are multi grain rolls, they work too!)


Next, you take deli ham, I chose honey ham and swiss cheese, assemble 3 or 4 slices of ham
and one slice of cheese on each roll.
One pound of deli ham will be enough for 15 sammies.


Throw the sammies in the oven for 10 minutes.


Once the cheese has melted, top each sammie with the other half of the roll and glaze with the
sauce mixture. The more, the better, the sauce is what makes the sammie!
Throw the sammies in the oven for 20-25 minutes on 350 degrees.


When complete, your sammies should look nice and brown.
Wait for them to cool, seperate and enjoy!!!
These are great for dinner, or you can use mini rolls for a delightful appetizer.
Pair them with chips, soup or eat em alone!!!!

Monday, December 19, 2011

Jewelry Board

Do you ever get tired of trying to find the other stud, your ring, that necklace to complete your ensemble?
Well, I did. I was sick of trying to find my jewelry and realizing that someone stepped on it, or it got tossed out, or what not.
So I thought of an inexpensive way to end the wasted money and time madness!
 
The instructions are below:
Start by purchasing a cork board. I got mine from walmart for $5.47. They have various board colors so you can coordinate with the room the board will be in.
Next you want to get a fabric to make your ruffle background. I chose a nice sheer fabric.
You want this piece to be double the length of the board. The piece I have is 22 inches.
Then you want to thread a matching thread through the material. If you look closely as this picture, you can see the needle and white thread.
Next, pull the thread to create a ruffle effect. Depending on how you want the ruffle to look, pull tighter or loose to fit your style.
Attatch the ruffle to your cork board. I was short on time and low on patience:) So I push pinned each end of my ruffle to the board.
Now, with another piece of fabric and some fabric paint, go ahead and write what you like on this piece.
Now go ahead and push pin the second piece of fabric onto your ruffle, like wise:)
Depending on your needs, go ahead and add push pins for rings, hoops, bracelets or necklaces.
I have some studs so I purchased small baggies to hold them in (i got a whole pack at walmart for only a $1)
You are then able to mount the board on your wall and assemble your jewelry like below.
& voila! you should have a jewelry board like the one displayed above!